Disclosure: This paint in this post was provided by Velvet Finishes. All opinions, images and love of painting projects are 100% mine.
I have a furniture hoarding problem. Well, I prefer to call it ‘furniture collecting.’
I may have gotten this trait from my mom. She always keeps furniture in case we can use it for something in the future.
My brother Stephen’s old nightstand had been sitting in my parents’ basement for a while. He had it in his college house and then to the basement it went. My mom was keeping it, you know, in case someone could use it eventually. It turns out I could use it!
I was at my parents’ a few weeks ago and headed to the basement to look for my next painting project. I came across the nightstand and knew it would be perfect with some paint and new hardware.
And isn’t it?!

This post contains affiliate links. This means if you click the link and buy something, I may receive a small percentage of sales at no extra cost to you.
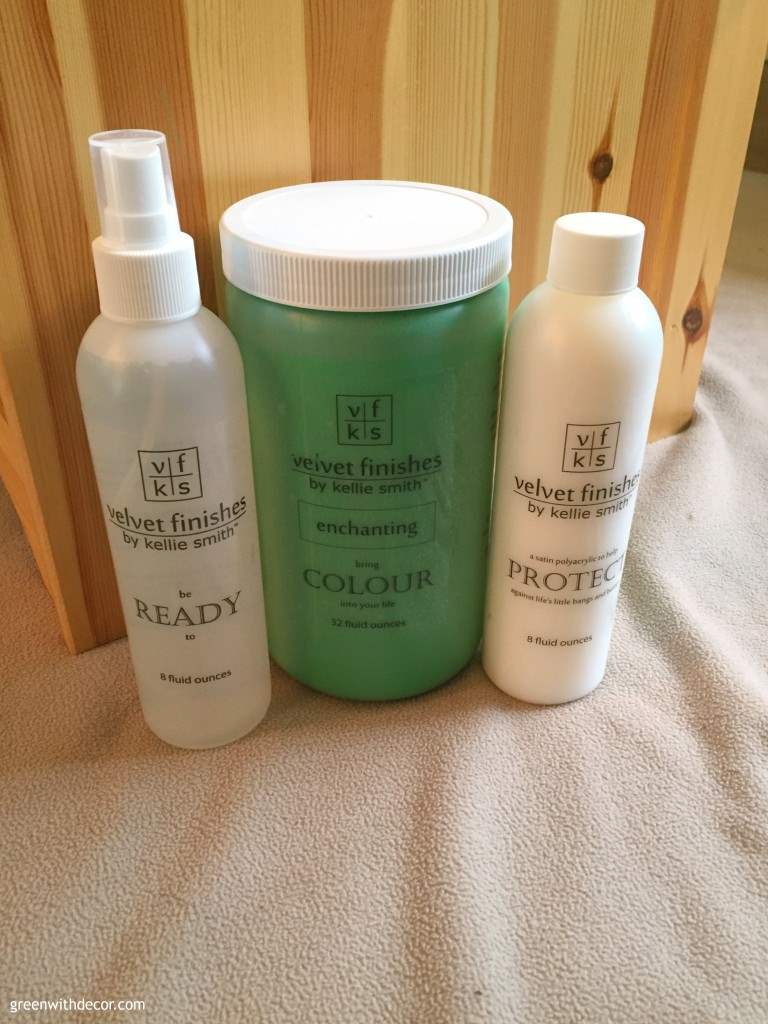
I used Enchanting by Velvet Finishes, and I LOVE the color!
The paint process was easy. Kellie, founder of Velvet Finishes, has it all figured out. She has READY and PROTECT products that make the prep and finishing steps really easy.
I’m all about easy projects – and pretty paint colors.
Speaking of pretty paint colors, a group of bloggers got together to each share our Velvet Finishes project this week for the Makeover Madness Blog Hop. The projects are all awesome, and now I want to try every color in Kellie’s collection.
I’m not kidding. You can see the whole project list below.
Supply list for a nightstand makeover:
Here’s what I used for my enchanting nightstand makeover:
- Drop cloth (I actually used an old blanket this time, because I was using my drop cloth for a different project. Sometimes it’s easier to get a bunch of painting done in one day.)
- Lint-free cloth
- Screwdriver
- Painter’s tape
- Paint stir stick
- Enchanting paint by Velvet Finishes
- READY by Velvet Finishes
- PROTECT by Velvet Finishes
- Paint brush
- New hardware (I picked this knob.)
I can’t say this enough. The painting process with Velvet Finishes was really easy.
I love trying out new paints, and I’m definitely a huge fan of Velvet Finishes after this project!
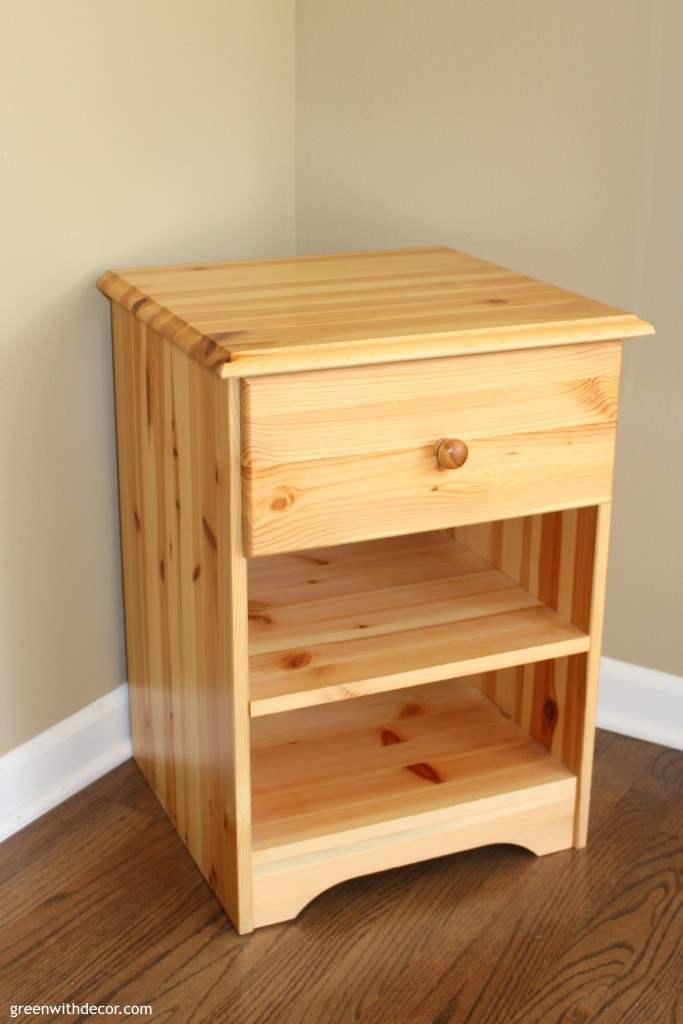
Here’s how the nightstand started:
How to use Velvet Finishes paint:
1. Wipe down your piece.
Velvet Finishes doesn’t require any sanding, but since the nightstand had been sitting in my parents’ basement, I gave it a quick once over with a damp cloth to get rid of any dust and dirt.
I usually use old t-shirts for this step. It’s cheap!
2. Take the old hardware off.
You’ll probably need a screwdriver, but sometimes, old hardware is easy to just screw off.

3. Tape off the piece.
I used painter’s tape to block any stray brush marks from ending up on the sides of the drawers, the drawer brackets inside and the back of the piece.
You’re the only one who would see those parts, so feel free to skip this step if you don’t care about some stray brush marks.
4. Spray on the READY mixture from Velvet Finishes.
The READY mixture eliminates the need to really prep or sand your piece.
Told you this was easy!
Spray the READY on your piece, let it sit for a minute or two, then wipe it down with a clean cloth.
If your piece is still shiny, repeat this step.
5. Paint
Shake and stir the paint.
I gave the piece three coats of paint. Kellie recommends not applying more than 3 coats in 24 hours.
I did two coats on a Saturday and the third on Sunday to spread them out.
Velvet Finishes dries in a way that doesn’t show brush strokes, which is great, because this means you don’t have to worry about which way you’re applying the paint.
Just cover the piece and you’ll be set. See? Easy!
I used a tiny paint brush to cover some of the corners inside the piece. The bigger brush just wasn’t hitting it all.
Side note: I washed my brush out in between coats so the paint doesn’t dry out the brush. Velvet Finishes easily came off the brush with water.
I got a little paint on my sleeve while I was painting, too, and with a little water, the paint came right out.
6. Apply the PROTECT.
For darker colors, Kellie suggests mixing a bit of the PROTECT with your paint. This worked great.
You could use a plastic bowl or old food container to mix the PROTECT and paint. I didn’t have either of these on hand so I went with the next best thing… a Solo cup. Hey, whatever works!
Be sure to apply the PROTECT evenly. If you’re seeing streak marks, apply more.
This seemed counter-intuitive to me at first, but sure enough, I didn’t apply enough to the top of the nightstand at first, and I was seeing streak marks. I applied a bit more of the PROTECT/paint mixture, and the streak marks disappeared.
7. Put on your new hardware.
I love the bit of beachy glam this knob adds to the piece!
8. Display!
I texted my brother Stephen a picture of the finished nightstand and his response: “You’d never even know it was in a college house.” Ha, very true!
I’m usually a bit more neutral in my furniture pieces and add color (okay, by color, I mean green) through curtains, rugs, throw pillows, etc., but I love this little table in green!
It’s a fun pop of color.
A few side notes on my display: If you love reading, you have to check out ‘The Rumor’ by Elin Hilderbrand I have sitting there. I couldn’t put it down. The other two were good reads, too!
My Grandmom bought me this cute ring holder when we got Oakley. Isn’t it fun!?
Green and pink has always been one of my favorite color combos, but you know, it’s kind of girly.
So I rarely decorate with pink, but I love the look of the vase on the nightstand!
And I also love with the word ‘believe‘ so I had to work this sign into the display!
Remember to check out the other bloggers’ Velvet Finishes projects. I had fun looking through all of them! Aren’t the paint colors gorgeous?!
M.Jones Style
Positively Southern
Green With Decor (you’re here!)
Chic On A Shoestring Decorating
Seeking Lavender Lane
Love Your Abode
Pursing Vintage
Confetti Style
Amy Howard Social
Wife In Progress
Canary Street Crafts
You can see more nightstand/end table makeovers here:
Remember to bookmark or pin this post if you want to save it for later!
Pin it!
Want to read more posts like this?
Follow along: Get my emails | Facebook | Pinterest | Twitter | Instagram
Marsha Jones says
Meg, I want to lick this color. Gorgeous reveal.
GreenWithDecor says
Haha! I’m pretty obsessed with the color, too!
Lisa says
Wow….it looks fabulous! Amazing color….doesn’t look like the same piece of furniture!
GreenWithDecor says
Thank you!! Amazing what some paint can do!
Amy | Canary Street says
Love the makeover, Meg! I had a feeling you were going to pick this color :). It’s gorgeous.
GreenWithDecor says
Thanks, Amy! Haha, I just can’t resist a pretty shade of green!
yuni says
That green rocks ! Love the transformation, meg!! I think I need more green in my life 🙂
GreenWithDecor says
Thanks, Yuni! Yes, of course, you need more green in your life! 🙂
Shelly@ConfettiStyle says
Meg, your dresser is just beautiful and I love how Velvet Finishes gave it a whole new, sophisticated look. And I’m a fan of the word Believe too! Great job.
GreenWithDecor says
Thanks, Shelly! Glad you like the word ‘believe’, too!
Amy says
This color is amazing Meg! I love your décor too, simply enchanting! 🙂
GreenWithDecor says
Thanks, Amy!